

Description
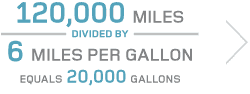
Save Fuel and Increase Profits
The first-ever fabric wheel cover proven to cut fuel consumption of class 8 trucks by as much as 1%. With Deflecktor wheel covers installed on trailers, the combination saves up to 2%


Simplest and Quickest Aerodynamic ROI
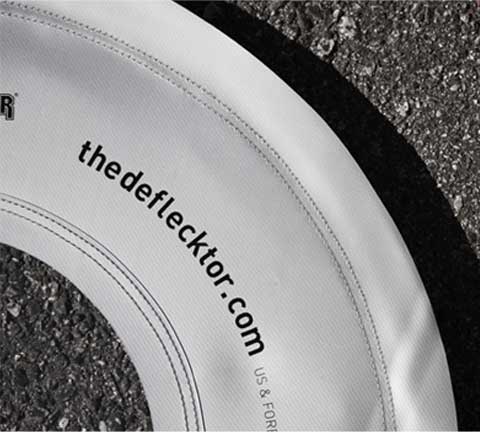
A low cost aero component made easy to install and extremely durable
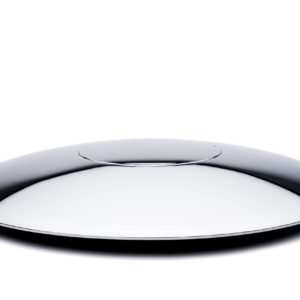
The Deflecktor is
- The simplest design known to streamline this complex area of aerodynamic inefficiency found on virtually all over-the-road trucks and trailers.
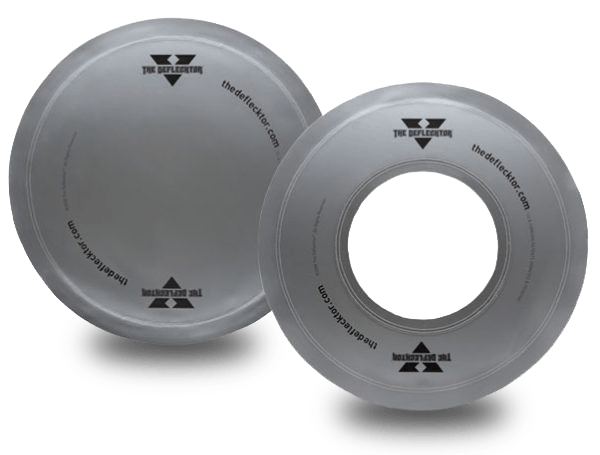
- Designed for Alcoa and Accuride 22.5" x 8.25" Aluminium and Steel wheels on Class 8 vehicles and trailers. Also available for 22.5" x 14" aluminum wide-base wheels.
- The only wheel cover that involves no hand tools for installation.
- Takes less than 4 minutes to install all 4 wheel covers.
- Secure patented mounting.
- Made of fabric that weighs just less than two pounds (850 grams).
- Made of durable heavy-duty truck tarp and stainless steel wire.
- One Year Warranty on all materials and workmanship.
Install 4 wheel covers in less than 4 minutes, involves no hand tools! Watch installation video.
Softspot Deflecktor Install
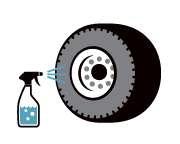
Step 1
Before you begin, make sure the wheel is clean.

Step 2
Peel off the wheel cover from the double-ring wheel liner and set aside.

Step 3
Wet surface with water.
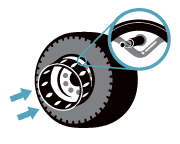
Step 4
Place the wheel liner into the wheel. Center the valve stem in the metal V-notch.
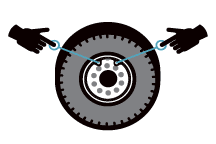
Step 5
Grasp tabs labeled #1 with each hand and push inward firmly.
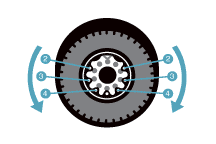
Step 6
Continue in sequence with tabs labeled #2 through #4 to seat both rings securely.
Step 7
Re-attach the wheel cover to the wheel liner.
Step 8
Hit the road and start saving!